Let’s discuss the question: blendshapes not showing in unity. We summarize all relevant answers in section Q&A of website Achievetampabay.org in category: Blog Finance. See more related questions in the comments below.

How do I access BlendShapes in unity?
Open the Animation window (from the main Unity menu: Window > Animation > Animation). On the left side of the window, click Add Curve and add a blend shape. The Inspector window displays the new blend shape in the BlendShapes section under the SkinnedMeshRenderer component.
What is BlendShapes in unity?
Blend shapes are used in 3D animation to interpolate between different sets of geometry. For instance, blend shapes are often used in facial animation to transition between expressions — like a character breaking into a smile or a frown from a neutral expression.
Unity 2020 Blend shapes from Maya
Images related to the topicUnity 2020 Blend shapes from Maya
How do I export BlendShapes to unity?
Navigate to File > Send To Unity. Select the FBX file type. Navigate to the FBX Options on the right hand side. Under FBX File Format Dropdown, Under Version, select FBX 2011.
How do you add a Blendshape?
Choose Create > Add Target > or Create > Add Selection as Target > in the Shape Editor to add a target shape to the base object’s selected Blend Shape Deformer based on the options you set here.
What are Blendshapes used for?
Blend shapes create the illusion that one shape changes into another in a natural-looking way. You might use one, for example, to animate a character’s mouth moving from a neutral shape into a smile. This works by using a duplicated version of the object, which is then manually adjusted to another shape.
How do you use Blendshapes in Maya?
The Shape Editor can be found on the sculpting shelf. When you first open it, Maya will automatically scan the scene for any existing blend shape nodes and fill the window for you. If none exist all you need to do is select the head model and then click Create Blend Shape.
What is skinned mesh renderer?
See in Glossary Renderer component renders a deformable mesh. Deformable meshes include skinned meshes (meshes that have bones and bind poses), meshes that have blend shapes, and meshes that run cloth simulation. To render a regular mesh, use a Mesh Renderer. See in Glossary and a Mesh Filter. See in Glossary instead.
How do I export Blendshapes from Maya?
- In the Shape Editor, select either a blend shape deformer, or one or more target shapes from the same blend shape deformer.
- Choose File > Export Shapes, or right-click a blend shape deformer or target shape and choose Export.
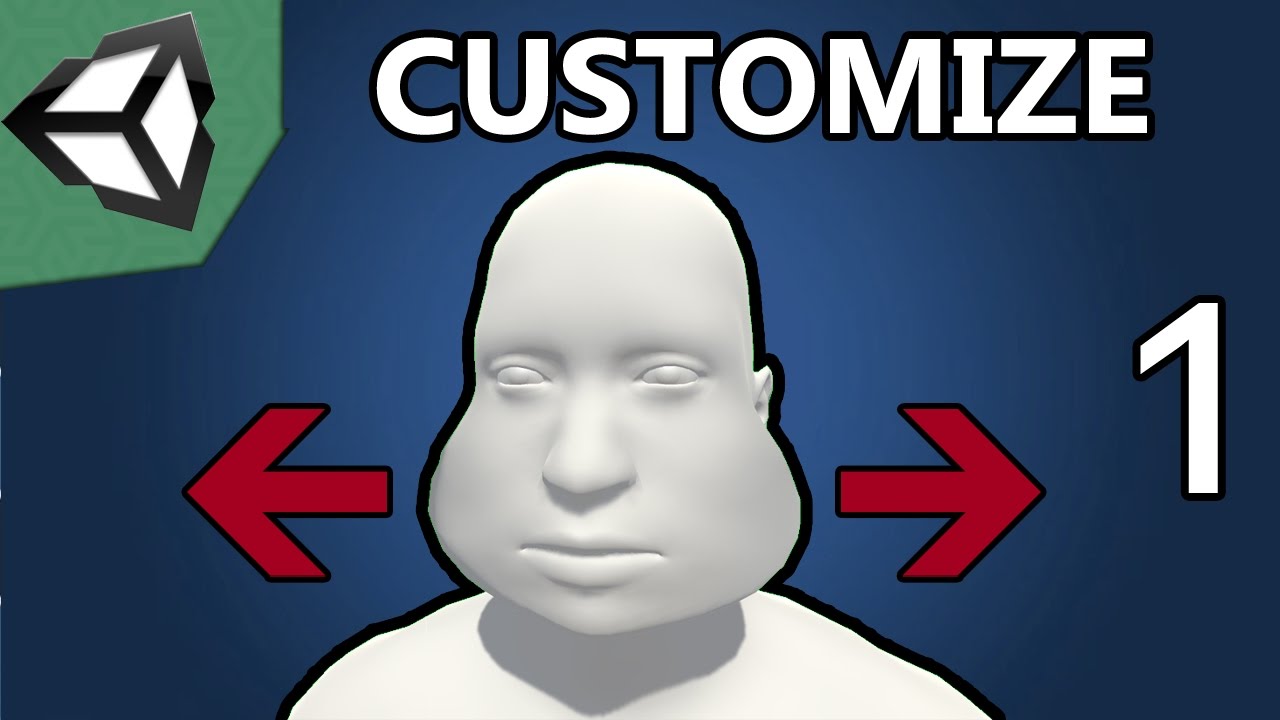
Unity Character Customization with Blendshapes – Part 1/4
Images related to the topicUnity Character Customization with Blendshapes – Part 1/4
Do Blender shape keys work in unity?
The model includes shapekeys for opening and closing the mouth, eyes and eyelids. In theory, these shapekeys work in unity and morph the geometry just as in blender.
How do I export shape key Animation?
- Select the object/objects you want to export.
- Go to file -> export FBX.
- Browse for a path to export.
- Name your file.
- Press Export FBX.
How do you keyframe Blendshapes in Maya?
- In the Blend Shape Editor (Window > Animation Editors > Blend Shape), adjust the sliders to create the desired blend shape. (See Set target weights for blend deformers.)
- In the Time Slider, click the frame where you want to set keys.
- In the Blend Shape editor, click Key All.
How do you edit a Blendshape?
- Select the object with the blend shape deformer.
- In the Shape Editor, select the target shape you want to modify – you can edit only one target shape at a time.
- Set the target shape’s Weight value to any value you like. …
- Click Edit to activate Edit mode – the button turns red to remind you that editing mode is active.
What are shape keys in Blender?
Blender’s shape keys allow you to deform a single object into many new shapes. Since they’re integral to animation and prototyping, let’s see how they work.
How do you insert a joint in Maya?
- In the Rigging menu set (press F3), select Skeleton > Insert Joints. …
- Click the joint you want as the parent of the new joint, and then drag it to where you want to place the new joint.
- Repeat step 2 until you finish inserting all the joints you want.
What is Blendshapes in Maya?
Maya 2022. Dec 06 2021In-product view. When you create a Blend Shape deformer for a base object (see Create blend shape deformers), it creates a blendShape node, which blends in specified amounts of each target shape to the base shape on that object.
Saving A Disaster Blender File | Unity Shape Keys Export
Images related to the topicSaving A Disaster Blender File | Unity Shape Keys Export
What is a Meshfilter unity?
A Mesh Filter component holds a reference to a mesh. It works with a Mesh Renderer. See in Glossary component on the same GameObject. See in Glossary; the Mesh Renderer renders the mesh that the Mesh Filter references. To render a deformable mesh, use a Skinned Mesh Renderer instead.
What are skinned meshes Roblox?
Skinned Mesh Examples
It’s one of the millions of unique, user-generated 3D experiences created on Roblox. The affect is achieved using just rotation and translation, with careful assignment of vertex weighting to multiple joints.
Related searches
- unity blendshapes
- vrchat blendshapes not working
- unity vrchat blendshapes
- unity copy blendshapes
- vrm blendshapes not working
- unity get blendshapes
- how to export blendshapes from maya to unity
- create blendshapes in unity
Information related to the topic blendshapes not showing in unity
Here are the search results of the thread blendshapes not showing in unity from Bing. You can read more if you want.
You have just come across an article on the topic blendshapes not showing in unity. If you found this article useful, please share it. Thank you very much.