Let’s discuss the question: after effects show keyframes. We summarize all relevant answers in section Q&A of website Achievetampabay.org in category: Blog Finance. See more related questions in the comments below.

Can’t see keyframes in After Effects?
To reveal keyframes press the U key, then press k or j to jump to the next available keyframe. The CTI will park on a keyframe. We have no way to tell if you have zoomed in on the timeline so that you can’t see the keyframes. This could easily be user error instead of a display problem.
How do I view key frames?
Display a keyframe with its associated animation curve in the Keyframe Editor. In Motion, Control-click the keyframe in the Timeline, then choose Show in Keyframe Editor from the shortcut menu. The Keyframe Editor appears below the Timeline.
Quickly Show Keyframes in After Effects Composition
Images related to the topicQuickly Show Keyframes in After Effects Composition
How do I show hidden keyframes in After Effects?
To display your hidden keyframes first try to press the hotkey ‘U’ to see keyframes that may be controlling the motion.
What is F9 in after effects?
F9 adds and easy ease to your keyframes which will immediately get your motion looking better, and once you learn the secrets of the graph editor will be one of the starting points to fine tuning your animation to perfection.
Why are my keyframes circles in AE?
The U key will reveal all keyframes, pressing the U key twice will reveal all modified properties of a layer. As ImeilFX said, the little circles just indicate that there are keyframes in that effect, they do not reveal the animated property. You should spend some serious time here: Basic AE.
Why can’t I see my keyframes in Premiere Pro?
If you want to add and adjust keyframes in a Timeline panel, make keyframes visible for the video or audio track. If the keyframes are not visible by default, click the Wrench icon in the Timeline panel, and select Show Video Keyframes.
How do I show keyframes in blender?
Timeline ‣ View ‣ Only Selected Channels. For Armatures, this will display the object keyframes, and the keyframes for the active and selected pose bones.
What is a keyframe CSS?
Definition and Usage. The @keyframes rule specifies the animation code. The animation is created by gradually changing from one set of CSS styles to another. During the animation, you can change the set of CSS styles many times.
How do you mark beats in after effects?
…
To set a marker using your menu:
- Navigate to “Layer” in the top control panel.
- Select “Marker”
- Choose “Add Marker”
- The marker will now appear at the location of your CTI.
Quickly show keyframes – After Effects Quick Tip Tutorial
Images related to the topicQuickly show keyframes – After Effects Quick Tip Tutorial

How do you show all properties in after effects?
Select a layer and hit the p, a, r, t, or s key. If you want to show multiple properties, hit one of the P.A.R.T.S. keys then hold Shift then hit another.
What does F10 do in After Effects?
| Shortcutlist Tips | ||
|---|---|---|
| Switch to 3D view 1, 2 or 3 | F10 – F12 | F10 – F12 |
| Set marker at current time (works during preview and audio-only preview) | * on numeric keyboard | * on numeric keyboard |
| Set and number a composition marker (0-9) at the current time | Shift 0-9 | Shift 0-9 |
| Go to a composition marker (0-9) | 0-9 | 0-9 |
What does command shift d do?
Meeting. Command(⌘)+Shift+D: Enable/disable dual monitor mode.
How do you put a keyframe on hold?
To apply or remove Hold interpolation as outgoing interpolation for a keyframe, select the keyframe in the Timeline panel, and choose Animation > Toggle Hold Keyframe.
How do I move a keyframe in After Effects?
You can also move selected keyframes in time (one frame earlier or later) by pressing the Alt (Windows) or Option (Mac OS) key with the left arrow or right arrow key.
How do you show keyframes in Premiere?
- Expand the view of a track, if necessary, by clicking the Wrench icon and select Expand All tracks.
- Show video keyframes by clicking the Wrench icon and select Show Video Keyframes.
- Show audio keyframes by clicking the Wrench icon and select Show Audio Keyframes.
How do you show keyframes in Premiere Pro?
View keyframes for an effect property in the Timeline panel
Right-click (Windows) or Control-click (Mac OS) the clip containing the keyframe properties you want to view. Choose Show Clip Keyframes, and then choose the effect containing the keyframes you want to view.
Where is keyframe in Premiere Pro?
How To Add Keyframes in Premiere. Learning to use keyframes is relatively easy, and once you understand how they work you’ll be able to put them to use in no time. You’ll first want to open the Effects Control panel. You can find this by going to Window > Effect Controls.
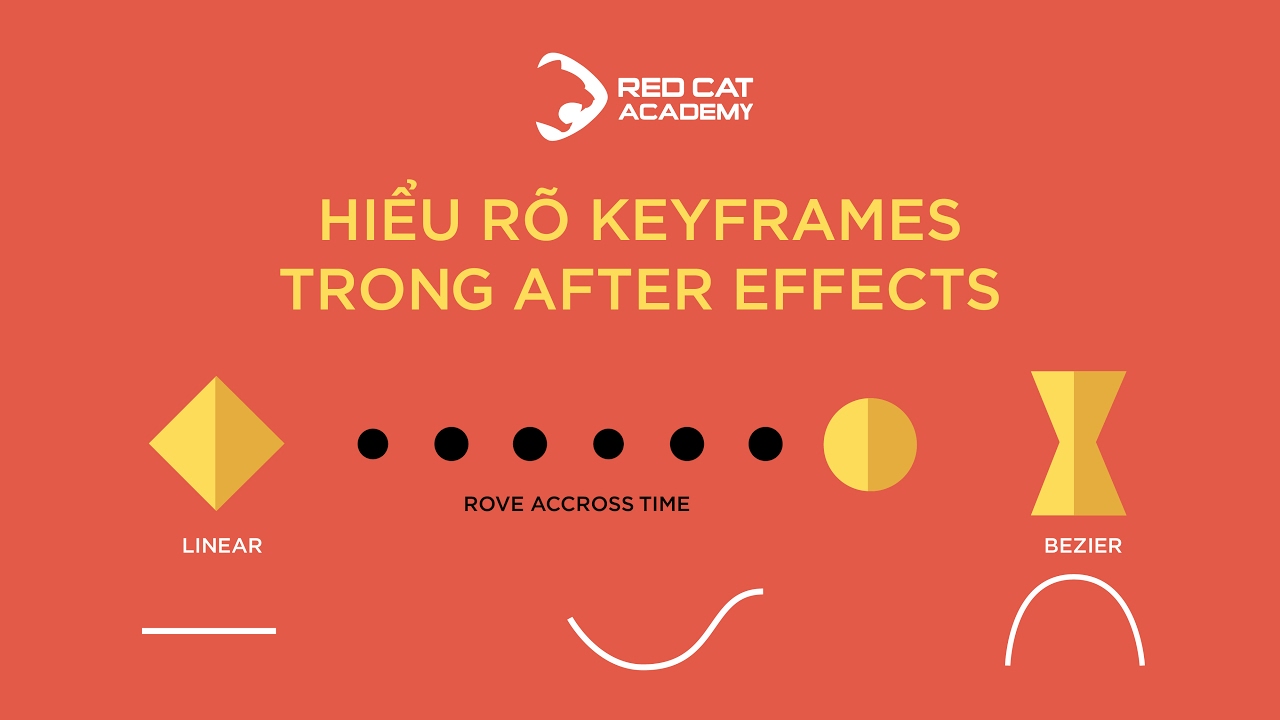
Red Cat Academy: Bạn đã biết hết về Keyframe trong After Effects.
Images related to the topicRed Cat Academy: Bạn đã biết hết về Keyframe trong After Effects.
Why can I not see my keyframes in blender?
If you are setting keyframes those will show on the NLA or the Curve editor. Did you accidentally drag the timeline up? It sometimes hides the keyframes if you did, and you will have to drag it back down.
Why is my keyframe not showing in blender?
The movement may be cached in Blender, you may need to reset the movement cache. Alternatively, you should look at both the Track Controller and Dopesheet(action editor) – the animation may be stored in both. The movement could also be caused by physics simulation of a rigid body.
Related searches
- keyframes not showing in after effects
- how to set keyframes in after effects
- adobe after effects show keyframes
- how to set keyframe in after effects
- after effects show only layers with keyframes
- show keyframes blender
- how to highlight keyframes in after effects
- how to move keyframes in after effects
- after effects select all keyframes
- after effects keyboard shortcut show all keyframes
- after effects copy keyframes
- after effects keyframes not showing
- what are keyframes in after effects
- after effects shortcut show all keyframes
- how to add keyframes in after effects
Information related to the topic after effects show keyframes
Here are the search results of the thread after effects show keyframes from Bing. You can read more if you want.
You have just come across an article on the topic after effects show keyframes. If you found this article useful, please share it. Thank you very much.