Let’s discuss the question: cv2.imshow in jupyter notebook. We summarize all relevant answers in section Q&A of website Achievetampabay.org in category: Blog Finance. See more related questions in the comments below.
Can we use cv2 Imshow in Jupyter?
Note: The imshow method of cv2 is disabled in Google Colab. Thus, colab users need to import cv2_imshow for displaying images. So the commands will be like: Jupyter Notebook: cv2.
Can we use cv2 in Jupyter notebook?
you see the OpenCV path is not in this list so you need to manually import it. Then in a cell type the below set of code. Make sure to change the python path of the environment to yours. You will now be able to import OpenCV to your jupyter notebook.
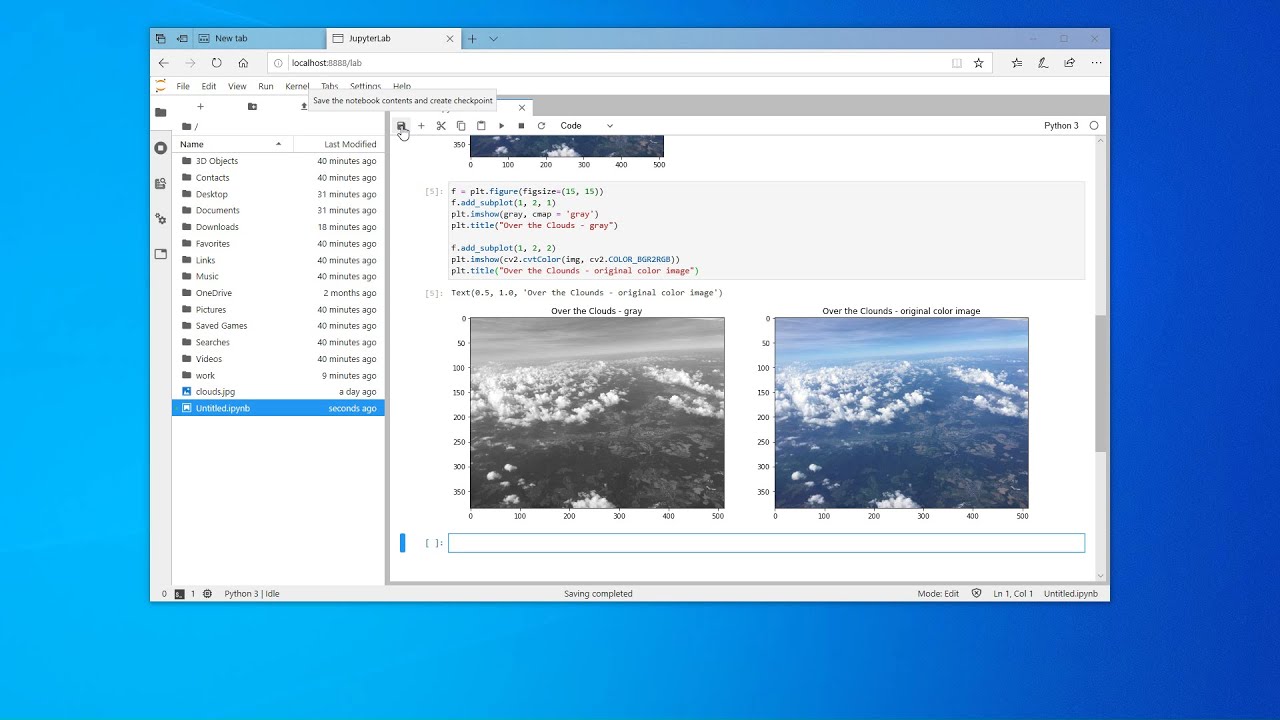
Getting Started with Python OpenCV in a JupyterLab Notebook
Images related to the topicGetting Started with Python OpenCV in a JupyterLab Notebook
How do I show cv2 images in Jupyter notebook?
- from matplotlib import pyplot as plt.
- import cv2.
-
- img = cv2. imread(‘/Users/barisx/test.jpg’)
- gray = cv2. cvtColor(img, cv2. COLOR_BGR2GRAY)
-
- plt. imshow(gray)
- plt. title(‘my picture’)
How do you Imshow cv2?
- Syntax: cv2.imshow(window_name, image)
- Parameters:
- window_name: A string representing the name of the window in which image to be displayed.
- image: It is the image that is to be displayed.
- Return Value: It doesn’t returns anything.
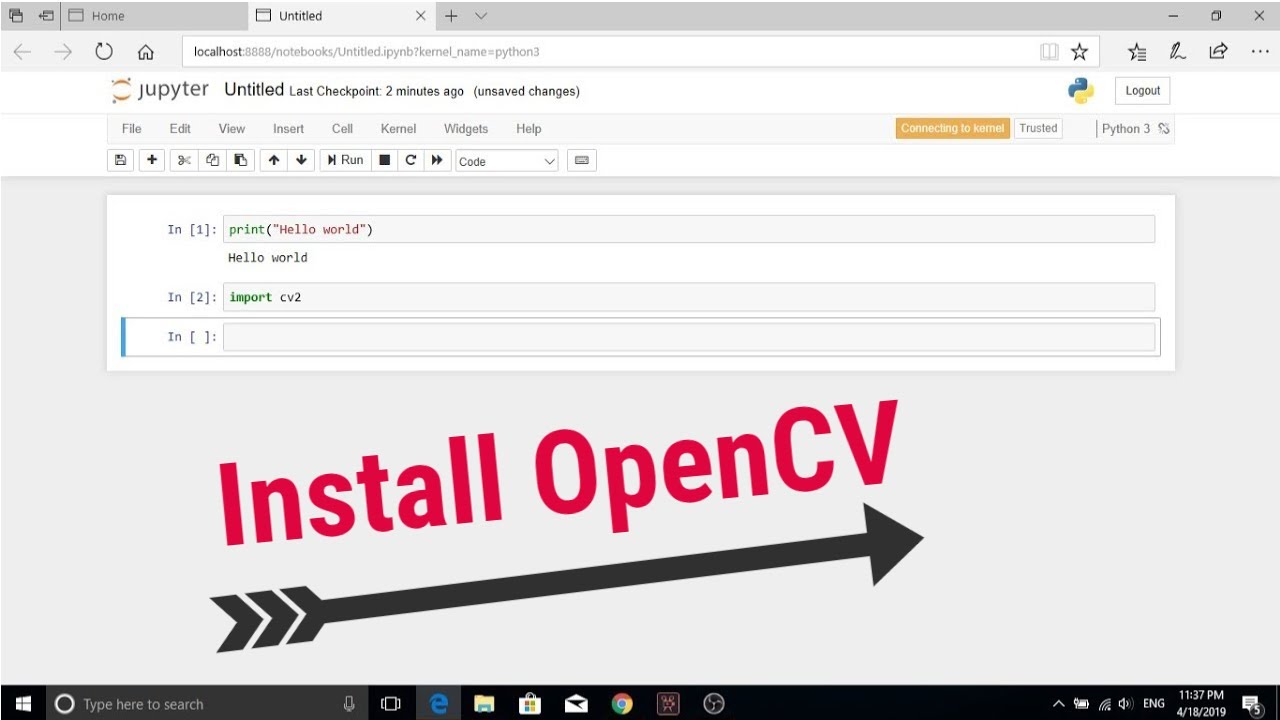
How do I install Opencv on Jupyter notebook?
- #First create a new enviorment :
- conda create -n opencv.
- #then :
- conda activate opencv.
- #then:
- conda install -c anaconda opencv.
What is %Matplotlib inline?
%matplotlib inline sets the backend of matplotlib to the ‘inline’ backend: With this backend, the output of plotting commands is displayed inline within frontends like the Jupyter notebook, directly below the code cell that produced it. The resulting plots will then also be stored in the notebook document.
How do I import cv2 in Anaconda?
- Download the OpenCV package from the official OpenCV site.
- Copy and paste the cv2. pyd to the Anaconda site-packages directory.
- Set user environmental variables so that Anaconda knows where to find the FFMPEG utility.
- Do some testing to confirm OpenCV and FFMPEG are now working.
How do I import a cv2 library into python?
- Step 1 − Make sure Python and pip is preinstalled on your system. Type the following commands in command prompt to check is python and pip is installed on your system. To check Python. …
- Step 2 − Install OpenCV. OpenCV can be installed using pip.
How do I download pygame on Jupyter notebook?
- Step 1: Check for Python Installation. In order to install Pygame, Python must be installed already in your system. …
- Step 2: Check for PIP installation. …
- Step 3: Install Pygame. …
- Step 4: Check Whether PyGame is Working or not.
How do I display an image in IPython?
When using GenomeDiagram with Jupyter (iPython), the easiest way to display images is by converting the GenomeDiagram to a PNG image. This can be wrapped using an IPython. display. Image object to make it display in the notebook.
How do I read an image in a Jupyter notebook?
- #If you want it on a “Code” cell.
- from IPython. display import Image.
- Image(“img/picture.png”)
-
- #If you want it on a “Markdown” cell.
- 
How do you show images in Jupyter notebook markdown?
- Step 1: This method is the easiest. first, change the type of the cell to -> markdown.
- Step 2: After that click edit in the jupyter notebook menu. after that click ‘insert image’. …
- Step 3: After that, a dialogue box opens up and asks us to locate the file. …
- Output:
- Output:
Face Detection using Python Open CV Image Processing Library in Jupyter Notebook
Images related to the topicFace Detection using Python Open CV Image Processing Library in Jupyter Notebook

What is Imshow in Python?
imshow() Function: The imshow() function in pyplot module of matplotlib library is used to display data as an image; i.e. on a 2D regular raster.
How does Imshow work Python?
imshow. The matplotlib function imshow() creates an image from a 2-dimensional numpy array. The image will have one square for each element of the array. The color of each square is determined by the value of the corresponding array element and the color map used by imshow() .
What is Imshow?
imshow( BW ) displays the binary image BW in a figure. For binary images, imshow displays pixels with the value 0 (zero) as black and 1 as white. example. imshow( X , map ) displays the indexed image X with the colormap map . example.
How do I activate OpenCV?
- OpenCV is a cross-platform library using which we can develop real-time computer vision applications. …
- Go to Start Menu -open Anaconda Prompt then type below command.
- conda create –name opencv-env python=3.6.
- Press Y and Enter, the environment will be installed.
- 2.1 Activate the environment using below command.
What is cv2 in Python?
cv2 is the module import name for opencv-python, “Unofficial pre-built CPU-only OpenCV packages for Python”. The traditional OpenCV has many complicated steps involving building the module from scratch, which is unnecessary. I would recommend remaining with the opencv-python library.
How do I install TensorFlow on Jupyter Notebook?
- Locate the path of Anaconda.
- Set the working directory to Anaconda.
- Create the yml file (For MacOS user, TensorFlow is installed here)
- Edit the yml file.
- Compile the yml file.
- Activate Anaconda.
- Install TensorFlow (Windows user only)
Do You Need %Matplotlib inline?
The only reason %matplotlib inline is used is to render any matplotlib diagrams even if the plt. show() function is not called. However, even if %matplotlib inline is not used, Jupyter will still display the Matplotlib diagram as an object, with something like matplotlib.
What is difference between matplotlib and Seaborn?
Seaborn vs matplotlib is that seaborn utilises fascinating themes, while matplotlib used for making basic graphs. Seaborn contains a few plots and patterns for data visualisation, while in matplotlib, datasets are visualised with the assistance of lines, scatter plots, pie charts, histograms, bar-graphs, etc.
Is Seaborn better than matplotlib?
Seaborn is more comfortable in handling Pandas data frames. It uses basic sets of methods to provide beautiful graphics in python. Matplotlib works efficiently with data frames and arrays.It treats figures and axes as objects. It contains various stateful APIs for plotting.
How do I install cv2?
- Open the terminal in your system.
- Start the Python shell by typing python3 and then hit enter. You will be inside the Python shell where you can execute your Python code.
- Import the cv2 package which is the name of the OpenCV module. Type “import cv2” and hit enter.
How to install Opencv on Anaconda
Images related to the topicHow to install Opencv on Anaconda
Is cv2 in Anaconda?
There are many Python IDEs that are available on the internet. One such Python IDE is Anaconda, open-source software and one of the most popular IDEs used by programmers worldwide for Python and R Programming. It contains a lot of plugins and packages like NumPy, Pandas, OpenCV, etc.
How do I know if cv2 is installed on Anaconda?
- # in terminal type python3 then the following,
- import cv2.
- cv2. __version__
Related searches
- how to use cv2.imshow
- Show image in Jupyter notebook
- show image in jupyter notebook
- imshow opencv
- Cv2 imshow jupyter inline
- cv2 imshow frame frame
- cv2.imshow in jupyter notebook
- Cv2 imshow not working
- Cv2 imshow not responding
- cv2.imshow() is disabled in colab, because it causes jupyter sessions
- cv2 imshow jupyter inline
- Cv2 imshow frame frame
- install cv2 jupyter notebook
- cv2 imshow not showing
- cv2 imshow not responding
- how to use cv2.imshow in jupyter
- how to resize cv2.imshow
- cv2 imshow not working
- cv2 imshow is disabled in colab because it causes jupyter sessions
- cv2 imshow example
Information related to the topic cv2.imshow in jupyter notebook
Here are the search results of the thread cv2.imshow in jupyter notebook from Bing. You can read more if you want.
You have just come across an article on the topic cv2.imshow in jupyter notebook. If you found this article useful, please share it. Thank you very much.